How to Install Custom Shades
Installing your custom Roman shade is a straightforward DIY job. Your shade arrives with its install instructions shown below — the same steps are written out as text underneath the diagram.
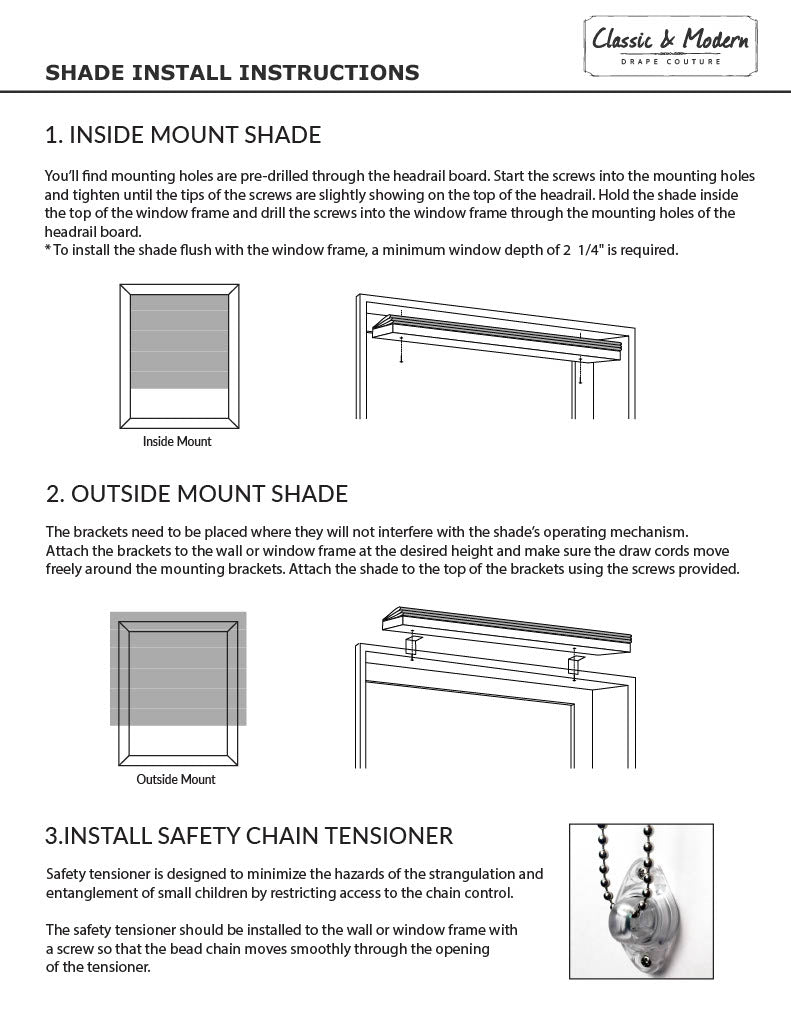
1. Inside mount shade
You'll find mounting holes are pre-drilled through the headrail board. Start the screws into the mounting holes and tighten until the tips of the screws are slightly showing on the top of the headrail. Hold the shade inside the top of the window frame and drill the screws into the window frame through the mounting holes of the headrail board.
To install the shade flush with the window frame, a minimum window depth of 2 3/4" is required.
2. Outside mount shade
The brackets need to be placed where they will not interfere with the shade's operating mechanism. Attach the brackets to the wall or window frame at the desired height and make sure the draw cords move freely around the mounting brackets. Attach the shade to the top of the brackets using the screws provided.
3. Install safety chain tensioner
The safety tensioner is designed to minimize the hazards of the strangulation and entanglement of small children by restricting access to the chain control.
The safety tensioner should be installed to the wall or window frame with a screw so that the bead chain moves smoothly through the opening of the tensioner.
Need a hand?
If anything does not look right — a shade that hangs unevenly or does not match your order — message us and we will help you sort it out. Still choosing your fabric? Browse our Custom Roman Shades and order a $2.00 sample swatch to start. New to measuring? Start with our How to Measure guide.